How to Seal Gaps Around a Garage Door Frame: Vinyl vs. Brush Seals (And the Wedge Track Trick)

Nailing weatherstripping too tight against your door creates severe friction that burns out opener motors. Learn the wedge track adjustment and compare vinyl to nylon brush seals.
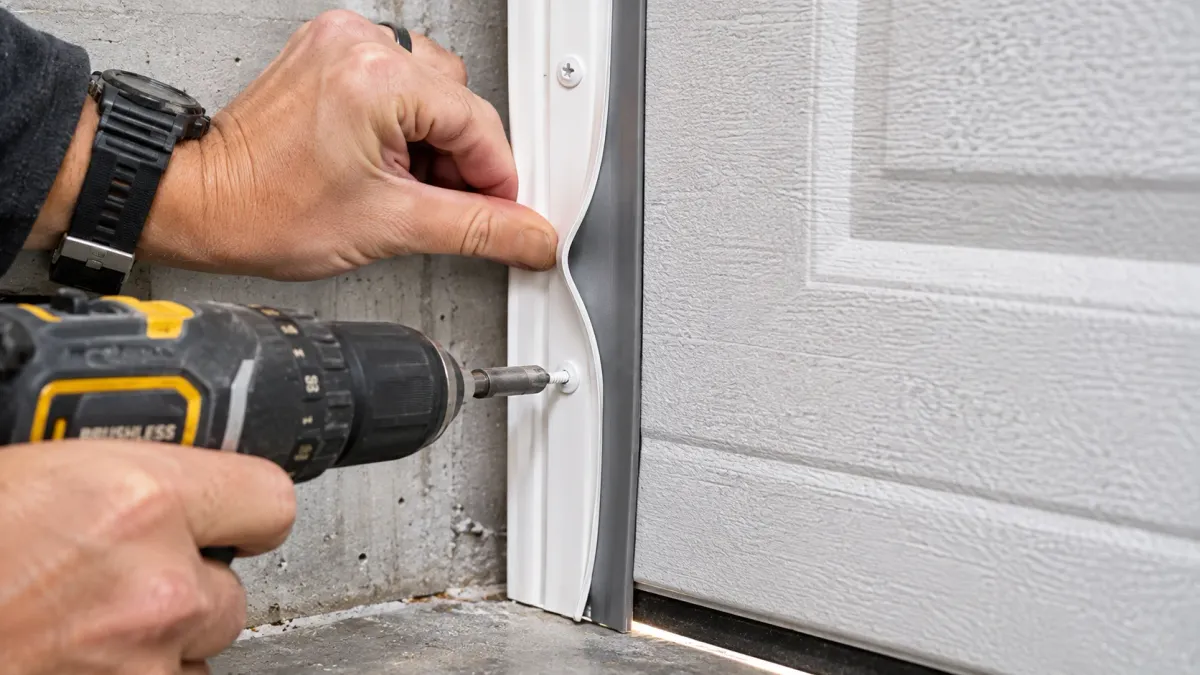
Table of Contents5 Sections
You shut your garage door at midday, turn off the interior LED ceiling lights, and turn around to look at the doorway. A blinding halo of bright white daylight outlines the entire top header and side jambs, framing a half-inch air gap where biting winter wind whistles into the bay, blowing dead leaves and freezing drafts straight into your workspace.
Homeowners respond by buying generic vinyl stop-molding from a hardware store, closing the door, and nailing the flexible rubber flap as tightly against the steel door face as physically possible. Three weeks later, their electric opener starts groaning under mechanical strain, the safety auto-reverse triggers erratically, and the thin rubber flap shreds into jagged ribbons from constant friction.
I serviced commercial overhead doors and tuned residential tracks across Ohio for decades. In this guide, I explain the mechanical flaw behind premature weatherstrip failure, teach you the professional ten-minute wedge track adjustment trick, and compare standard vinyl flap molding against commercial nylon brush seals so you can stop garage drafts permanently.
The Mechanical Flaw: Why New Weatherstripping Fails Without Track Adjustment
Field studies by Energy Star on air sealing and thermal envelope recommendations show that perimeter drafts around service doors and garage portals account for up to 20% of unconditioned air leakage in residential structures.
When a sectional garage door operates, its panels do not move strictly vertically. The steel wheels roll inside vertical steel tracks that guide each panel as it bends over the curved radius into the horizontal ceiling rails.
If your vertical tracks are mounted too far back from the exterior wooden door jambs (often three-quarters of an inch or more), a massive physical gap separates the door panels from the door frame. Standard vinyl weatherstrip flaps only extend roughly one inch outward.
When homeowners try to bridge this wide gap by nailing new stop-molding tightly against the door face, they turn the rubber seal into an active mechanical brake. The rubber presses hard against the textured paint of the door panels, creating immense sliding friction during the entire travel cycle.
That continuous drag forces your electric opener motor to draw excessive current, overheating its internal thermal switch and grinding down the nylon drive gear. Furthermore, dragging cold steel panels across frozen rubber tears the vinyl flap away from its plastic carrier within six months.
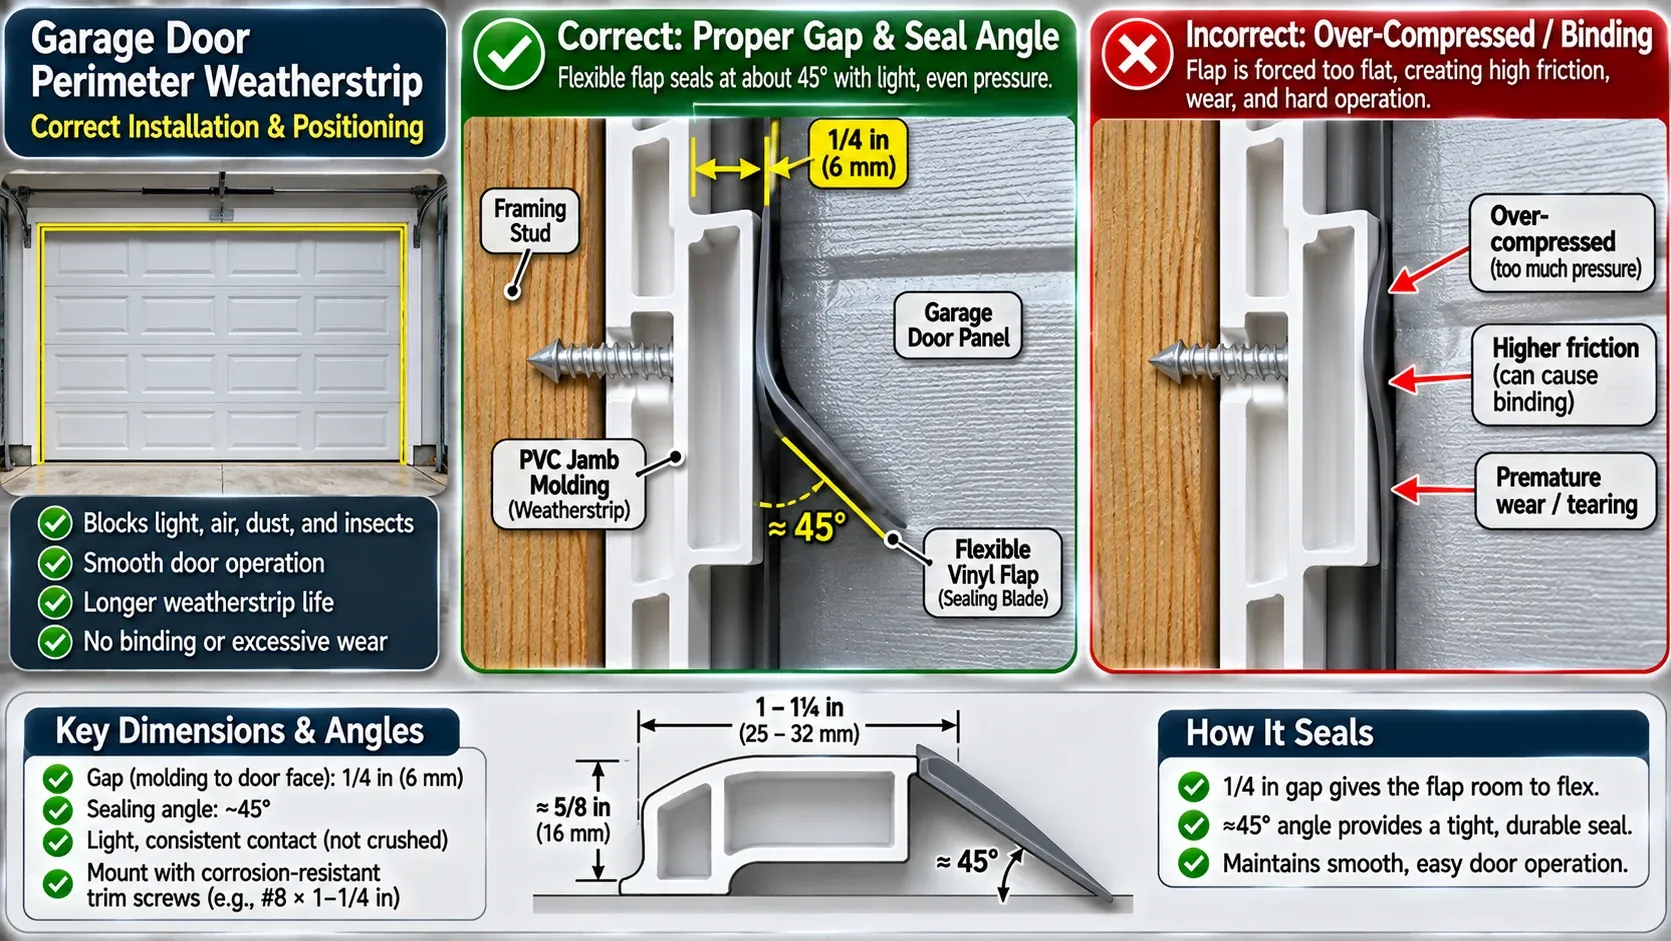
Technical architectural cross section diagram showing correct garage door perimeter weatherstrip positioning, PVC jamb molding spaced 1/4 inch away from door face, flexible vinyl flap bent at an optimal 45-degree sealing angle against panel, contrasting against over-compressed binding error, CAD blueprint style.
Garage Door Perimeter Weatherstrip Comparison: Vinyl Flaps vs. Brush Seals
Evaluate material longevity, draft resistance, cold-weather flexibility, and pest exclusion.
Extruded rigid PVC trim with integrated co-extruded flexible vinyl flap
Heavy architectural extruded aluminum retainer holding dense polypropylene nylon bristles
The 10-Minute “Wedge Track” Adjustment Trick
Closing this perimeter gap tight does double duty. Beyond keeping winter drafts out, it forms the first defensive barrier in my protocol on how to mouse-proof your garage before winter by blocking the bottom vinyl corner entry holes.
Before driving a single nail or replacing your perimeter weatherstripping, you must correct the physical alignment of your vertical door tracks using the wedge track adjustment trick.
Commercial door installers never install vertical tracks completely parallel to the exterior door frame. Instead, they pitch the tracks on a slight mechanical wedge angle:
First, grab a 7/16-inch or 1/2-inch deep socket and loosen the track bracket lag bolts securing the vertical tracks to the wooden wall framing. Do not remove the bolts; simply back them out two turns so the track can slide forward and backward.
Second, adjust the track spacing. Push the bottom of the vertical track tight toward the door frame, leaving exactly one-quarter inch of clearance between the bottom door panel and the jamb wood.
Third, adjust the top of the vertical track so it tilts slightly backward into the room, sitting roughly one-half to three-quarters of an inch away from the upper wall framing. Retighten the bracket bolts securely.
This slight backward wedge pitch creates a brilliant mechanical action:
- When the door raises: The panels immediately pull backward away from the door frame, traveling upward in free air with zero friction against the weatherstrip seals.
- When the door descends: During the final two inches of downward travel, the wedge track guides the entire door forward, compressing the panels gently against the rubber perimeter seals like a latched refrigerator door.
Adjusting the Top Fixture Rollers to Eliminate Header Gaps
Even with properly wedged vertical tracks, the top horizontal panel of your door can lean backward into the garage, leaving a stubborn half-inch air gap along the upper header.
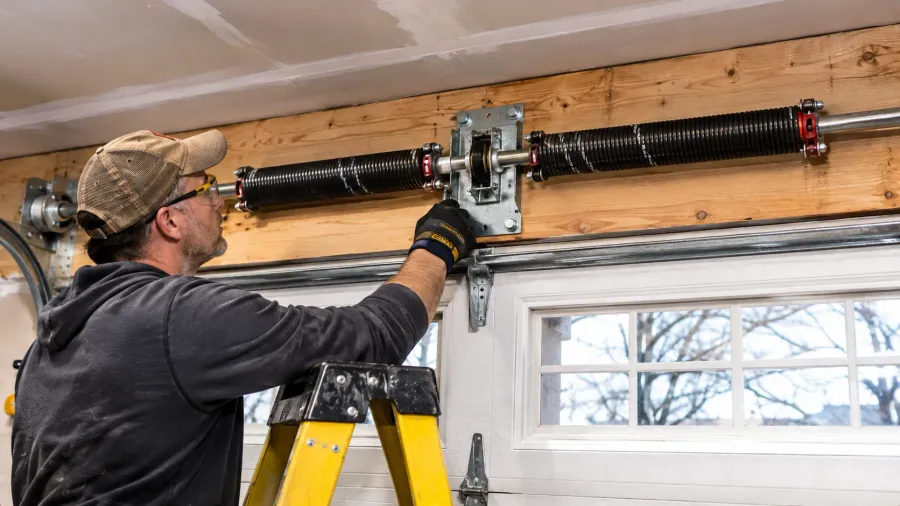
Examine the upper left and right corners of your top door panel. You will find adjustable stamped steel brackets called top fixtures that hold the upper roller stems.
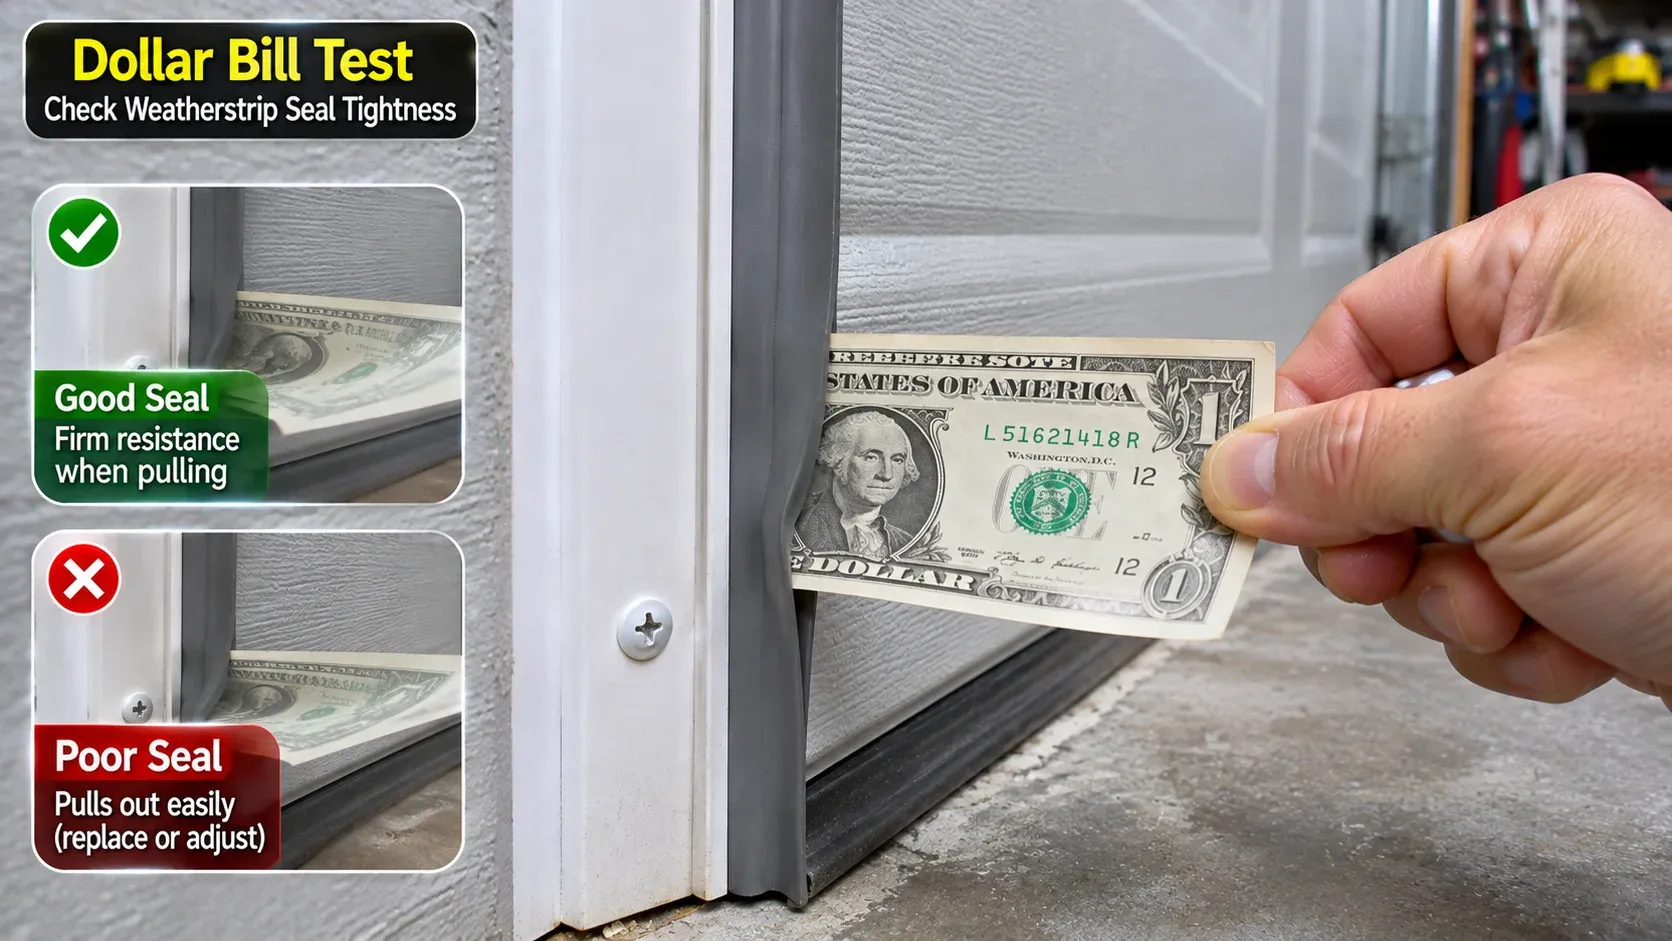
Detailed photo demonstration of the dollar bill test on a garage door perimeter weatherstrip, a crisp US dollar bill clamped between the flexible rubber sealing flap and the metal door section, hand pulling with gentle tension demonstrating firm friction resistance, clear workshop focus.
Loosen the two locking nuts on the top fixture bracket using a 7/16-inch socket. Slide the roller stem carrier forward toward the exterior wall until the top panel presses flush against the exterior header stop.
Retighten the nuts firmly. This adjustment squares the top panel against the exterior frame, closing the upper light leak before you ever install your exterior weatherstrip molding.
Step-by-Step Installation: Cutting Miters and Nailing the Stop
Once your door tracks are properly aligned, installing exterior stop-molding takes less than forty-five minutes using basic hand tools:
Step 1: Pry off your old, rotted wooden or vinyl stop-molding using a flat pry bar. Scrape away old caulk, loose paint, and dirt from the exterior wooden jamb faces.
Step 2: Install the top horizontal weatherstrip piece first. Measure the width of the door opening between the side jambs. Cut the top molding piece square on both ends so it fits snugly between the side frames.
Hold the molding against the header so the flexible vinyl flap bends gently against the exterior door face at a 30-to-45-degree angle. Fasten the strip using galvanized weatherstrip nails or pre-painted exterior screws driven every twelve inches.
Step 3: Measure and cut the two vertical side molding pieces. Cut the bottom ends square to rest flat against the concrete threshold. At the top end where the side pieces meet the horizontal header strip, cut a clean 45-degree miter angle so the rubber flaps overlap without gaps.
Step 4: Fasten the side strips down the frame, maintaining that same gentle 30-degree deflection angle against the door panels. When finished, cycle the door with your electric opener; the door will glide smoothly without motor hesitation, while your daylight gap disappears completely.
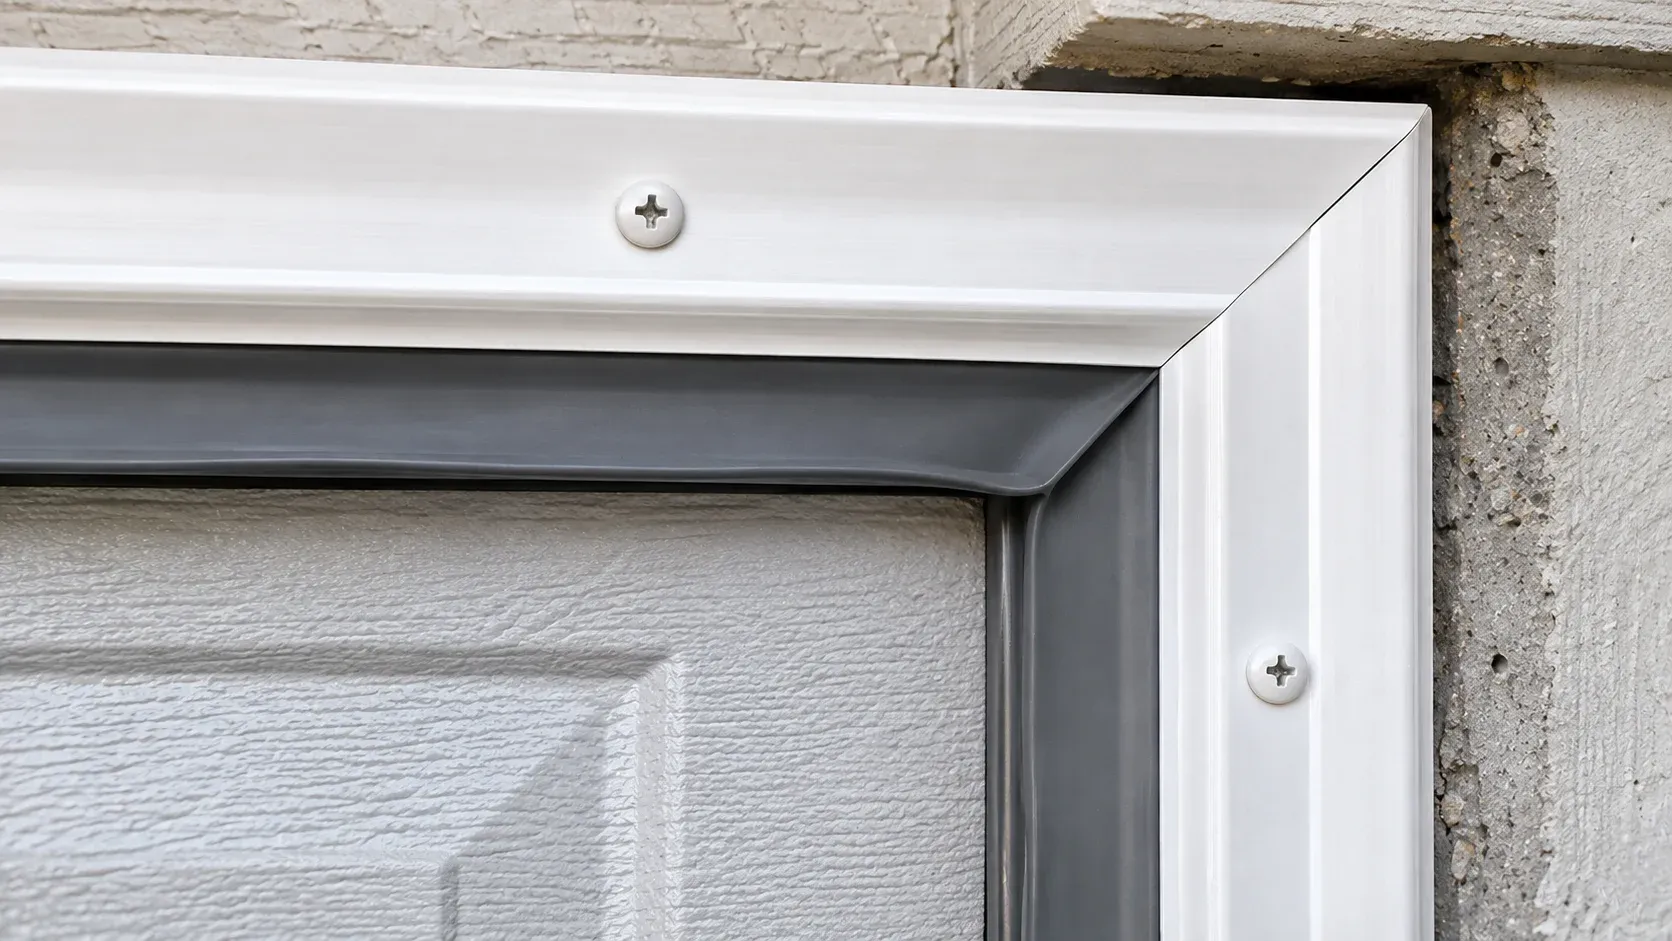
The upper top corner joint of a garage door frame, showing a precise 45-degree miter cut on the white PVC stop molding where horizontal header and vertical jamb seals meet, seamless rubber flap overlap preventing leaf and wind infiltration, tack-sharp focus.
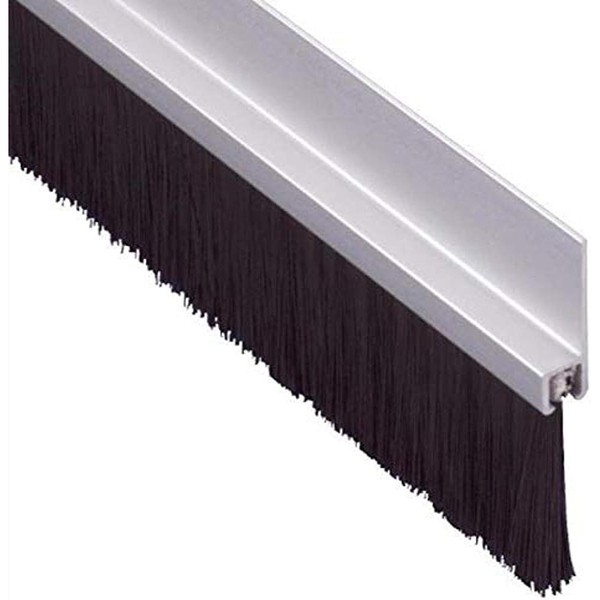
Action Industries Commercial Aluminum Retainer with 1-Inch Nylon Brush Seal Kit
Best For: Maximum draft, dust, and wind blocking in harsh winter climates
Est. Price: $75 - $95
"The definitive, heavy-duty weather barrier for serious workshops, providing an impenetrable seal against wind, blowing dust, and drafts."
- +Dense black polypropylene bristles flex smoothly across corrugated panel ribs
- +Extruded architectural aluminum retainers will never rot, warp, or crack
- +Maintains 100 percent flexibility in sub-zero temperatures down to -40°F
- -Carries a higher initial investment than basic vinyl plastic strips
- -Requires fine hacksaw blade to trim aluminum retainers to exact doorway height
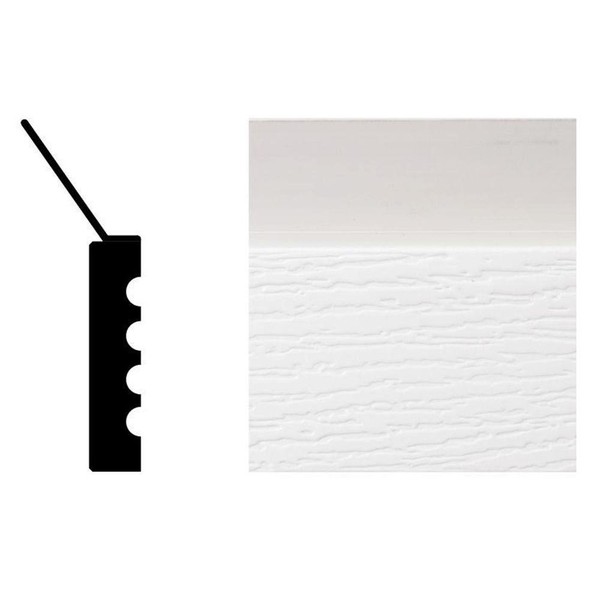
Royal Building Products White Vinyl Garage Door Stop Molding (3-Piece Kit)
Best For: Clean factory color-matching on standard residential door frames
Est. Price: $38 - $48
"The most popular and cost-effective residential replacement kit, giving your door jamb a crisp, rot-proof white seal."
- +Durable cellular PVC body will never rot, crack, or absorb moisture
- +Co-extruded flexible vinyl flap seals tightly against flat steel panels
- +Pre-finished bright white surface requires zero painting out of the box
- -Vinyl flap can stiffen during extreme sub-zero northern winter snaps
- -Must be nailed with proper deflection angle to avoid excessive door drag
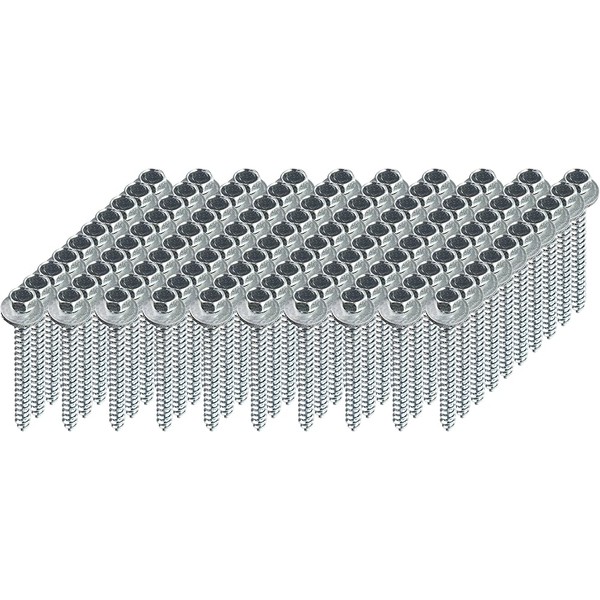
Hillman Stainless Steel Weatherstrip Screws with Colored Heads (100-Pack)
Best For: Securing vinyl and aluminum stops into exterior wood jambs
Est. Price: $12 - $16
"Inexpensive, corrosion-proof fasteners that anchor your perimeter molding firmly without ugly rust stains."
- +Corrosion-resistant stainless steel shank will never rust or bleed black streaks
- +Factory painted white heads blend invisibly into standard PVC molding
- +Deep Phillips drive seats securely without stripping screw heads
- -Must be driven with care in cold weather to avoid cracking brittle PVC flanges
- -Pre-drilling pilot holes recommended near mitered corner cuts
Completing Your Garage Weather Envelope
Eliminating perimeter air leaks around your overhead door frame is essential before investing in garage climate control.
Stop freezing rainwater and winter runoff from blowing under the bottom of your door by reviewing our installation guide on how to stop water coming under your garage door.
Once your door perimeter is airtight, lock in winter workshop warmth by installing high-density insulation panels from our guide on garage door insulation and spring balance.
Hank Miller
Hank is a master craftsman and DIY mechanic based in Ohio. He tests workshop equipment, garage floor coatings, and power tools under brutal, real-world workshop conditions, with zero paid brand sponsorships.