Vertical vs Horizontal Lumber Storage: How to Store Wood in a Small Garage Without Warping

Raw concrete floors wick moisture into wood ends, turning straight boards into warped pretzels. Here is how to store lumber vertically and horizontally in a small shop.
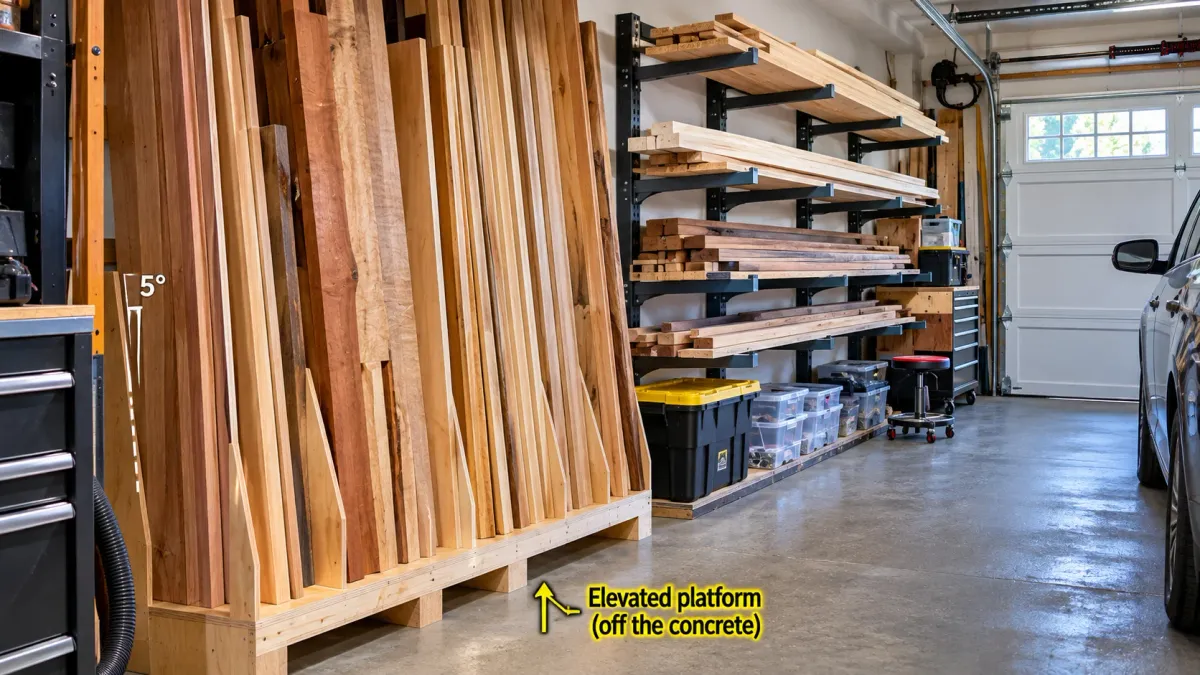
Table of Contents6 Sections
- 01.The Moisture Science: Why Raw Concrete Ruin Lumber Ends
- 02.Vertical Storage: The Small Garage Space-Saver
- 03.Horizontal Cantilever Racks: For Long Stock and Timbers
- 04.The Engineering Trap: Wall Stud Shear and Hardware Math
- 05.Proven Commercial Racks and Storage Hardware
- 06.Build an Elevated Vertical Base in 30 Minutes
You spend an hour at the hardwood dealer hand-picking ten clear, perfectly straight eight-foot white oak boards for a dining table project. You haul them home, carry them into your garage, and stand them upright in an empty corner directly on the concrete slab next to your lawn mower.
Three months later, you finally have a free weekend to start cutting joinery. You grab the first oak board, sight down the edge, and your heart sinks.
The bottom foot of the board is swollen, discolored, and split right down the center. The middle of the board cups inward like a canoe, and the entire length twists like a propeller blade. You just destroyed two hundred dollars worth of prime hardwood before making your first saw cut.
Wood is a living, hygroscopic sponge. In a typical home garage with fluctuating humidity and raw concrete floors, storing timber improperly guarantees severe warping, bowing, and rot.
Here is how to design a dual vertical-and-horizontal lumber storage system that preserves your wood flat and true, even inside a tight single-car garage.
The Moisture Science: Why Raw Concrete Ruin Lumber Ends
To understand why standing boards on bare concrete ruins timber, look at the microscopic cellular anatomy of wood. Tree trunks grow by pumping moisture through capillary tubules. The USDA Forest Products Laboratory (FPL) Wood Handbook details how equilibrium moisture content affects dimensional stability and grain tension across seasonal humidity swings.
When logs get sawn into dimensional lumber, those tubules run parallel down the length of the board. The cut ends of a board expose thousands of open capillary tubes known as the end-grain.

Microscopic botanical cutaway diagram showing capillary moisture wicking in vertical lumber, board resting directly on unsealed garage concrete slab, open end-grain capillaries acting like drinking straws drawing moisture up into lower 12 inches causing uneven expansion, splitting, and cupping, clear scientific graphics.
Unsealed concrete garage floors continuously transmit water vapor upward from the earth below. When you rest bare board ends directly on the slab, those open end-grain capillaries act like drinking straws. They wick ground moisture up into the lower eight to twelve inches of the board.
The bottom of the board swells to twenty percent moisture content, while the upper section remains at nine or ten percent. This dramatic moisture gradient generates severe internal tension. As the outer rings expand against the restrained core, the timber splits, cups, and bows permanently.
Vertical Storage: The Small Garage Space-Saver
In a narrow one-car or two-car garage, wall space is extremely limited. If you install an eight-foot horizontal cantilever rack along your main wall, you create a major logistical headache: pulling a full eight-foot board off a middle shelf requires eight feet of clear runway in front of the rack. In a compact shop, that board will slam into the side of your parked vehicle or your table saw fence.
Vertical storage eliminates that clearance bottleneck. You lift boards straight up and out.
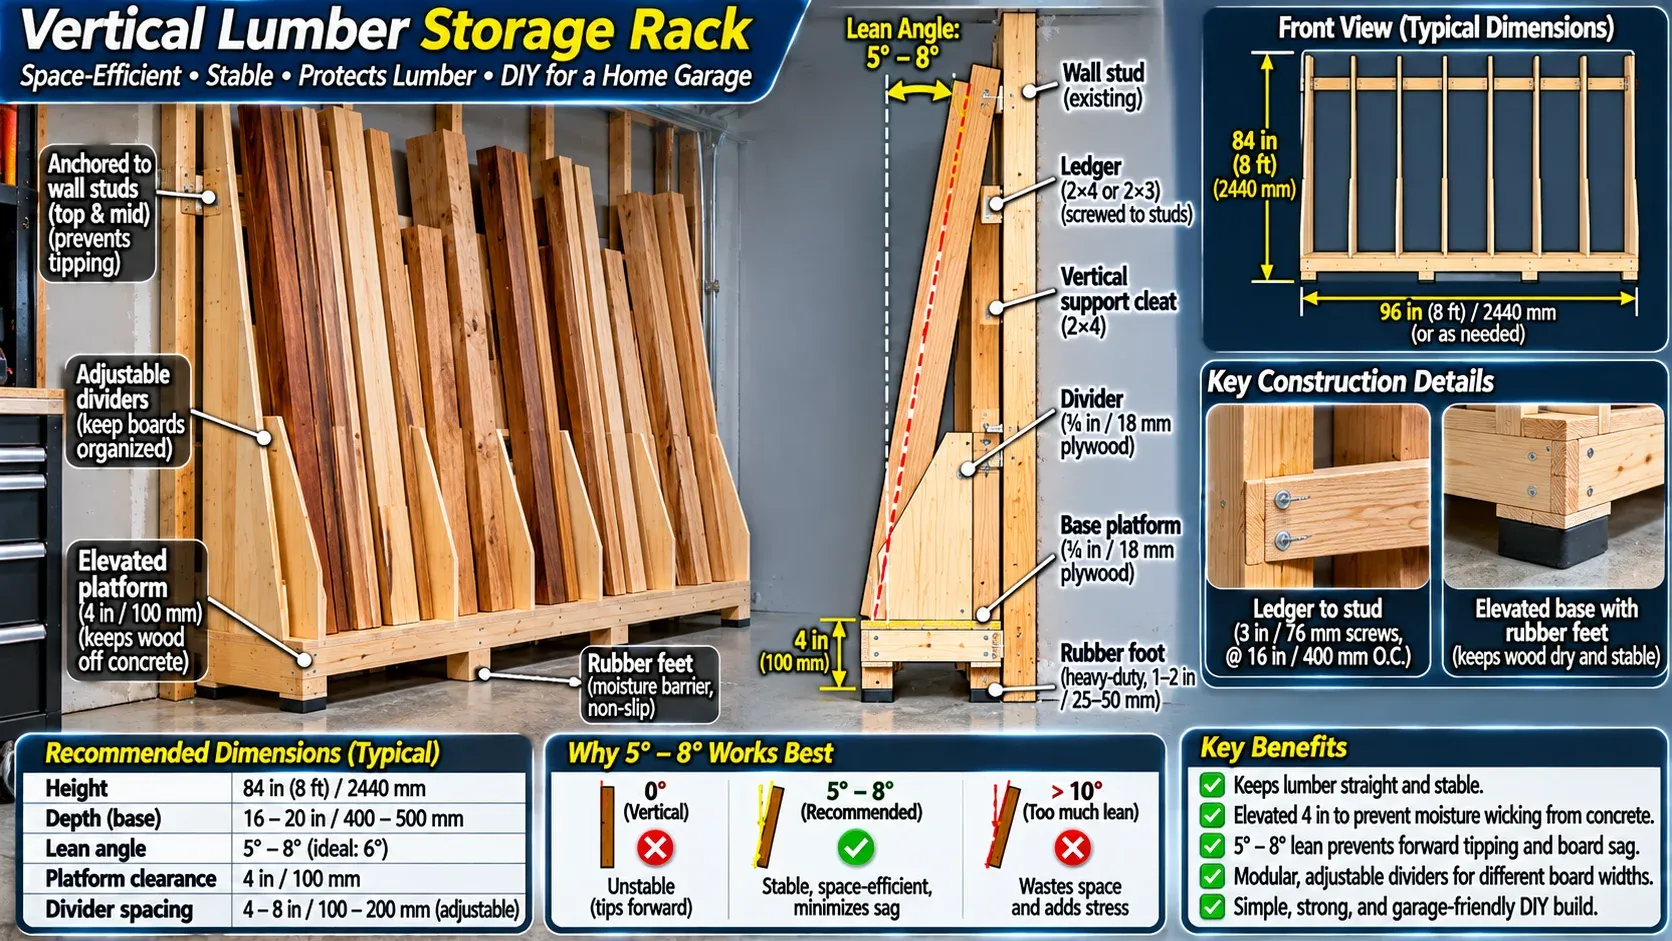
Architectural technical diagram of a vertical lumber storage rack for a residential garage, showing wooden base platform elevated 4 inches above concrete slab with rubber feet, rear wall stud support anchors, and 5-to-8 degree lean angle preventing forward tipping while minimizing board sag, clean blueprint styling.
3 Rules for Vertical Storage
- Elevate 3 Inches Off the Slab: Never allow lumber to touch concrete. Build a raised bottom platform supported by rubber feet or pressure-treated wood runners to provide a physical vapor barrier and allow continuous air circulation beneath board ends.
- Maintain a 5 to 7 Degree Lean Angle: If you lean boards too steeply (over fifteen degrees), gravity causes long boards to bow in the middle. If boards stand completely vertical (zero degrees), they risk tumbling forward onto your workstation. A five to seven degree backward tilt keeps the load securely balanced against wall dividers.
- Use Rigid Section Dividers: Group lumber by species and thickness using steel pipe dividers or stout hardwood dowels spaced every twelve inches. Dividers prevent the outer boards from cascading sideways into a tangled pile.
Horizontal Cantilever Racks: For Long Stock and Timbers
While vertical storage excels for short boards, cutoffs, and kiln-dried stock under eight feet, horizontal storage is mandatory for long structural timbers, rough-sawn unseasoned stock, and full sheets of plywood.
Green or air-drying lumber requires continuous, flat horizontal support along its entire length to prevent natural gravitational sagging.
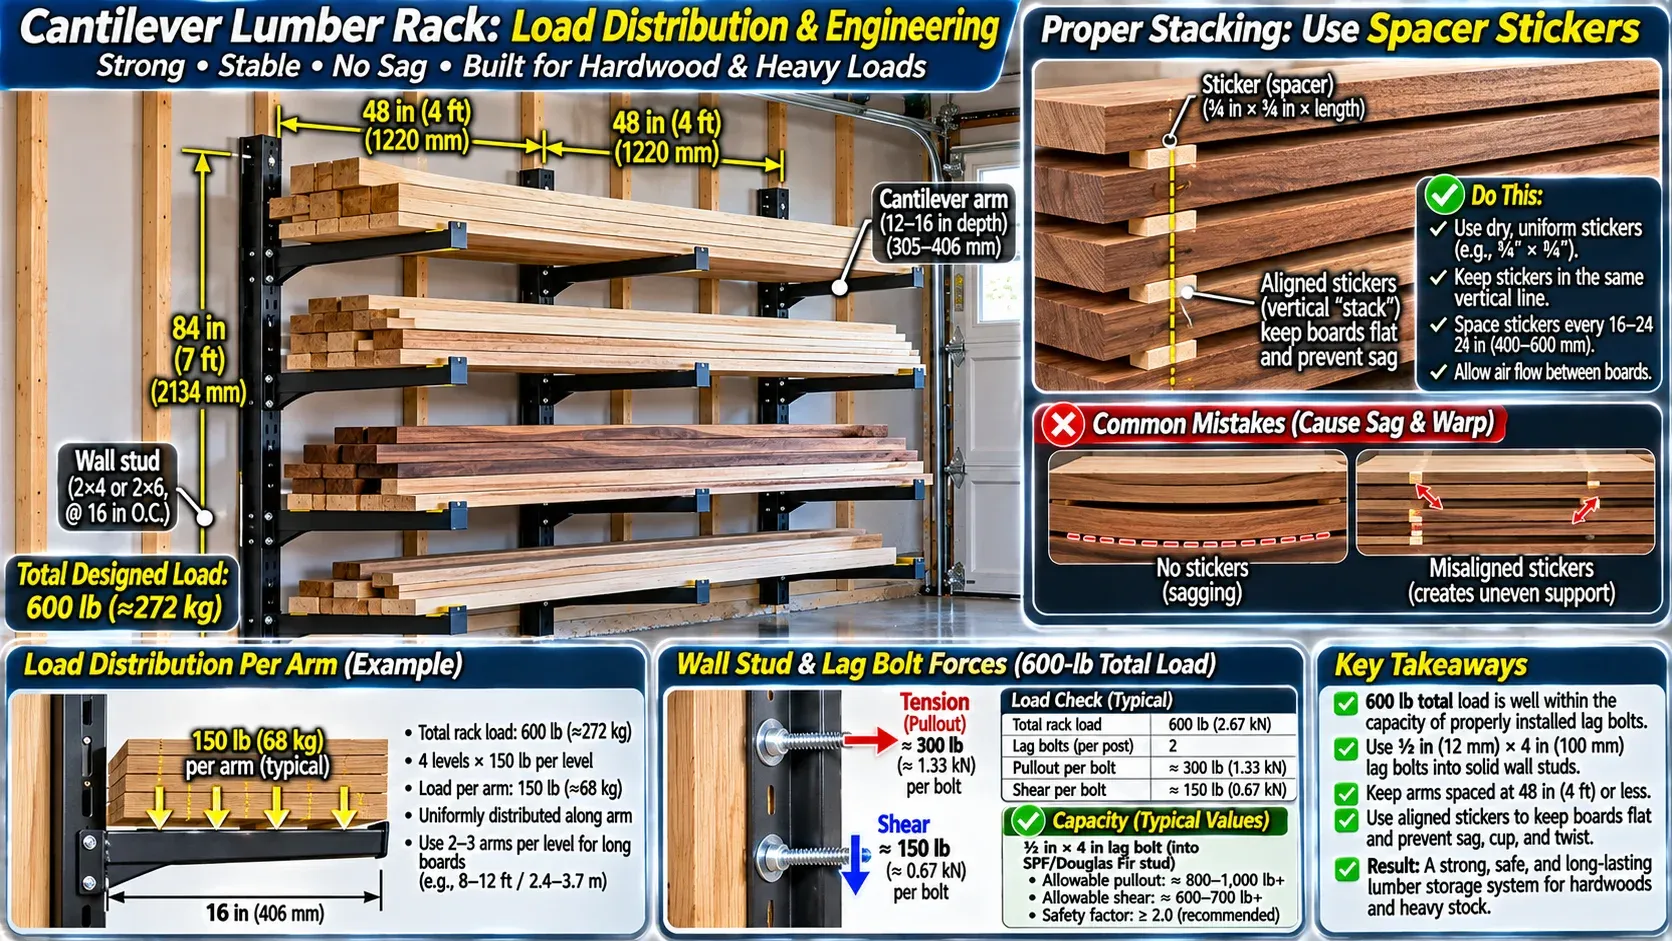
Technical woodworking storage diagram showing horizontal cantilever lumber rack load distribution, showing vertical alignment of spacer stickers between stacked hardwood boards preventing sagging, inset showing engineering tensile pullout and shear forces on wall stud lag bolts under 600-lb load, clean CAD graphics.
Stacking Rules for Horizontal Lumber
- Install Arms on 16-Inch or 24-Inch Centers: Space support arms to align directly with your wall studs. Wide support gaps (over 32 inches) allow thin 4/4 stock to sag between spans, setting a permanent curve into the wood.
- Use Wood Stickers for 360-Degree Airflow: Never stack fresh boards directly face-to-face. Place dry, uniform 3/4-inch square wooden strips (called stickers) between each horizontal layer directly over each support arm. Stickers allow ambient air to circulate across all four sides of each board, preventing surface mold and ensuring uniform drying.
Vertical vs Horizontal Lumber Storage Comparison
Floor Space Required
Board Access Clearance
Max Board Length
Green / Rough Lumber
Wood Sorting Speed
The Engineering Trap: Wall Stud Shear and Hardware Math
The most dangerous workshop storage mistake involves underestimating the immense weight of stored timber. A standard six-tier lumber rack loaded with kiln-dried red oak and maple easily accumulates 600 to 800 pounds of dead weight.
Because that weight sits eighteen inches out from the wall on cantilever arms, it creates a massive rotational bending moment. The top fasteners on each vertical upright experience severe tensile pull-out forces, while the bottom anchors experience crushing shear loads.
Never hang a lumber rack using drywall screws, plastic drywall anchors, or standard tapered deck screws. Drywall screws are made of brittle, case-hardened steel; they possess near-zero shear strength and snap cleanly under shock loads.
Always secure wall uprights into the exact center of structural wall framing studs using 5/16-inch diameter structural timber screws (like GRK RSS or Simpson Strong-Tie SDWS) that penetrate at least 2-1/2 inches into solid wood. If your garage walls feature bare framing or exposed paneling, review our guide on plywood versus drywall for garage workshop walls before driving heavy structural anchors.
Proven Commercial Racks and Storage Hardware

Empire 48-Inch Professional Magnetic Aluminum Box Level (e70.48)
Best For: Aligning multiple vertical cantilever uprights dead-level across uneven studs
Est. Price: $42.97
"If your vertical rack uprights sit even 1/4-inch out of level across an eight-foot wall, your lumber stacks will twist and bow; this 48-inch level ensures flat alignment."
- +High-contrast e-Band blue vials provide 0.0005-inch per inch accuracy in all positions
- +Extruded aluminum box chassis resists workshop bending and drop impacts
- +Rare-earth continuous magnetic edge sticks firmly to steel framing and conduit
- -Four-foot length requires careful storage off the floor to avoid dropping tools onto vials
- -Milled bottom edge requires wiping clean of sawdust to prevent reading errors
Building a custom timber rack takes time. If you want a proven, engineered system with certified load ratings, these products deliver dependable service.

Bora Portamate 6-Tier Wall-Mounted Lumber Storage Rack (PBR-001)
Best For: Woodworkers who want a high-capacity, low-profile wall rack for eight-foot boards.
- +Heavy-duty powder-coated tubular steel construction supports 110 lbs per tier
- +Generous 6-tier vertical layout holds up to 600 lbs of total lumber inventory
- +Slim 12-inch arm depth maximizes garage wall clearance above parked vehicles
- +Pre-drilled steel vertical uprights align easily with standard 16-inch framing studs
- -Included mounting screws are lightweight; upgrade to structural timber lags
- -Tubular steel arms can leave pressure marks on very soft pine without wood pads
The Bora Portamate PBR-001 is a workshop classic. Its round horizontal steel tubes provide sturdy, non-marring support while keeping long hardwood stock off the ground and neatly organized by thickness.
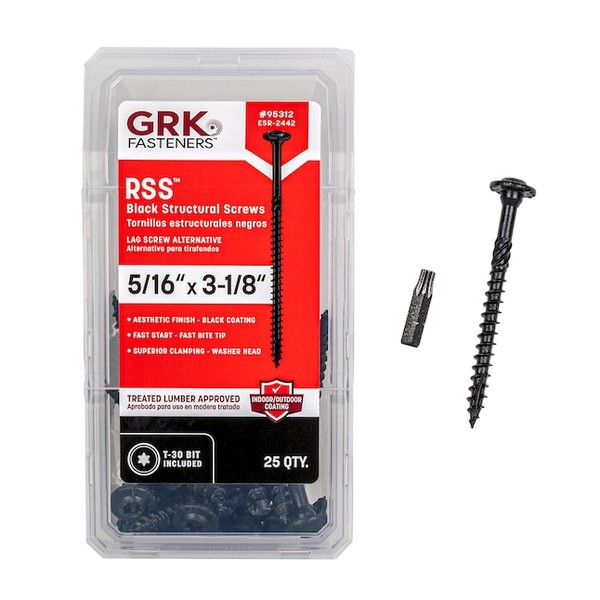
GRK RSS 5/16-Inch x 3-1/8-Inch Rugged Structural Screws
Best For: Crucial safety hardware to anchor high-load lumber storage racks to wall framing.
- +Engineered structural timber screw replaces traditional 3/8-inch lag bolts without pre-drilling
- +Massive tensile and shear strength prevents catastrophic rack pull-out from wall studs
- +Built-in washer head compresses rack steel securely against wall surfaces
- +Climatek corrosion coating resists humidity in unheated, damp workshops
- -Requires a high-torque 1/4-inch hex impact driver with a T-30 star drive bit
- -Costs more per box than standard zinc lag screws
Build an Elevated Vertical Base in 30 Minutes
If you want an inexpensive, bombproof vertical storage station for cutoffs and short boards, you can build an elevated base station with one pressure-treated 2x6 and scrap plywood:
- Cut a Ground Runner: Cut a pressure-treated 2x6 board to four feet in length. Screw four heavy-duty 1/2-inch rubber equipment bumper feet to the bottom edge. This lifts the wood platform off the concrete slab, completely isolating it from moisture.
- Fasten the Base to the Wall: Anchor the 2x6 horizontally to your bottom wall framing plate using structural timber screws.
- Drill Angled Divider Pockets: Using a 1-inch Forstner bit, drill a series of holes spaced eight inches apart along the top face of the 2x6, angled back toward the wall at six degrees.
- Insert Galvanized Pipe Spacers: Slide twelve-inch lengths of 3/4-inch rigid galvanized electrical conduit or threaded pipe into the holes to serve as upright sorting dividers.
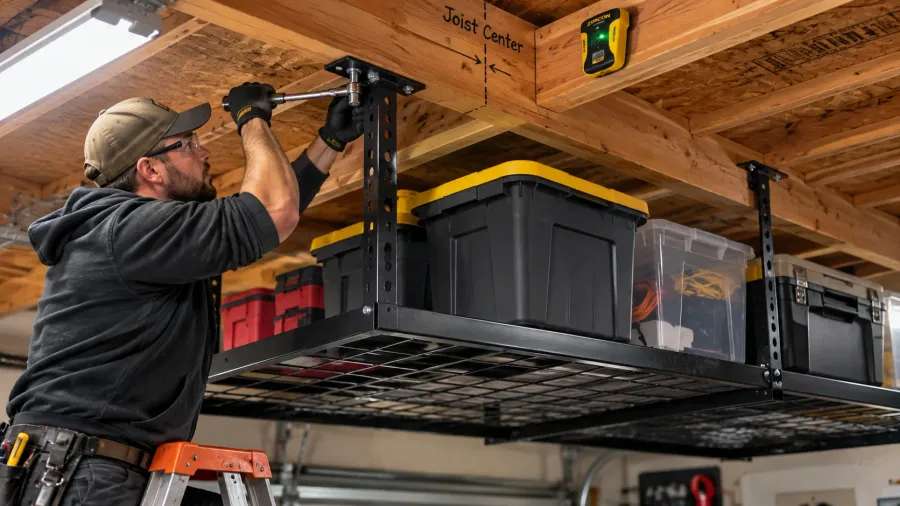
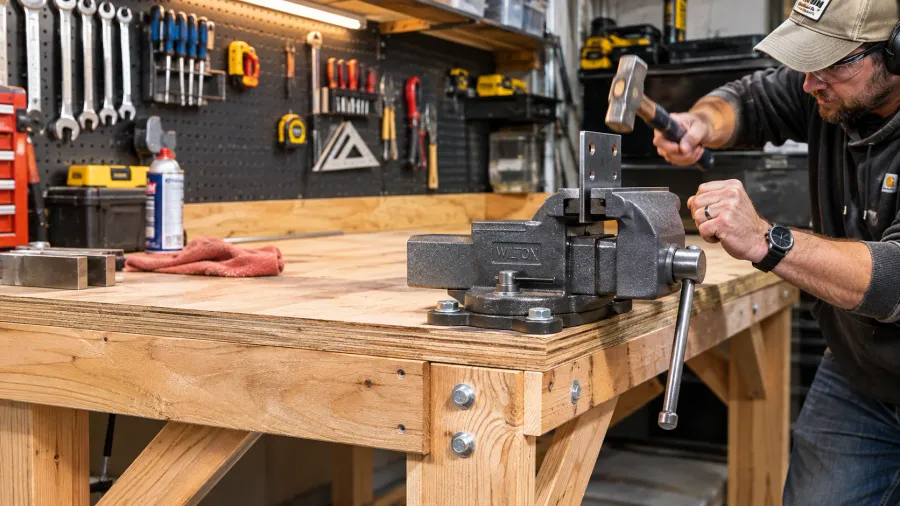
Place your chop saw and assembly table nearby so you can grab materials smoothly. To construct a rigid, level table for your projects, follow our complete instructions in building a wobble-free garage workbench. If you regularly break down full sheet goods to feed your vertical storage rack, review our technique on how to cut 4x8 plywood sheets by yourself, and ensure your ceiling framing is protected with our guide on safely mounting overhead garage storage racks.
Protect your lumber investment from floor moisture and gravity sag. Pair an elevated vertical rack for daily cutoffs with a high-strength cantilever rack for long timbers, and your materials will stay flat, square, and ready for work.
Hank Miller
Hank is a master craftsman and DIY mechanic based in Ohio. He tests workshop equipment, garage floor coatings, and power tools under brutal, real-world workshop conditions, with zero paid brand sponsorships.