Best MyQ Alternatives: How to Control Your Garage Door Locally Without Cloud Subscriptions

Chamberlain cut off open APIs and added video ads to open garage doors. Here is how local controllers like Ratgdo, Tailwind, and Meross provide fast, subscription-free access.
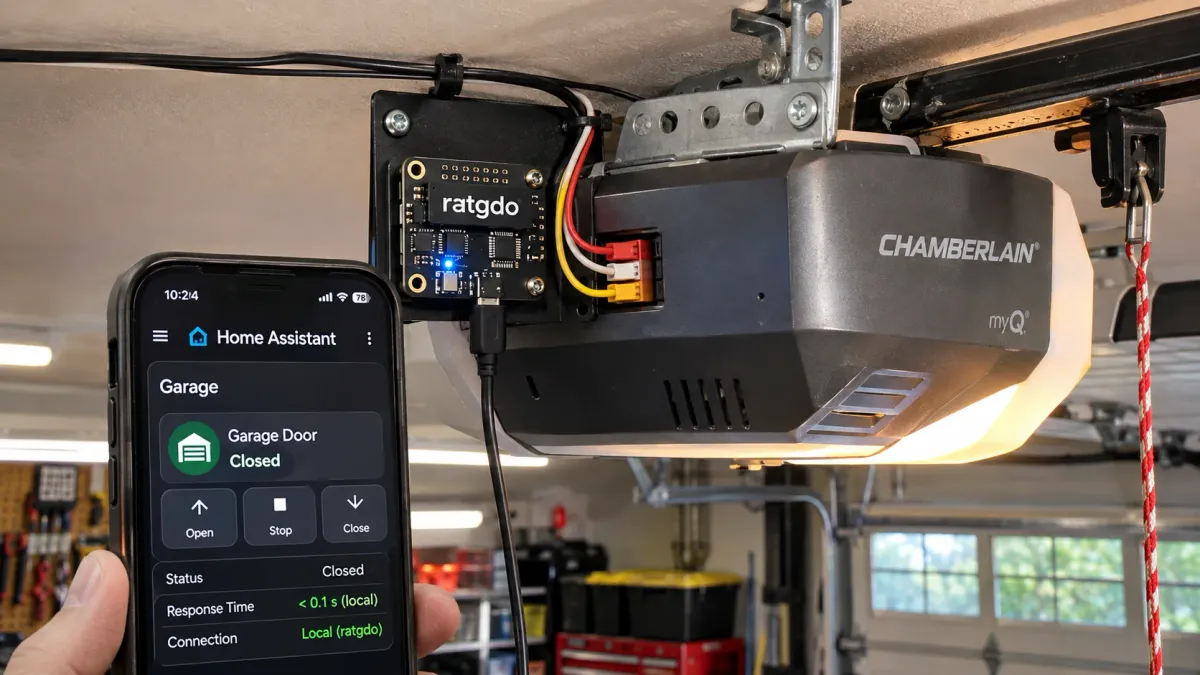
Table of Contents5 Sections
It is pouring rain on a dark Thursday evening. You pull your truck into the driveway, shift into park, and pull out your smartphone. You tap the Chamberlain MyQ app icon.
Instead of opening the door, the app hangs. A spinning wheel churns across the screen: Connecting to cloud server… Then a sponsored advertisement for smart pet cameras pops up. You tap the tiny corner X, wait five more seconds for the server handshake, and tap the door button again. Nothing happens because an AWS cloud outage just took down Chamberlain’s authentication servers.
You sit in your wet truck, locked out of your own garage, while your home Wi-Fi router hums thirty feet away.
You do not need an overseas cloud server or a paid subscription to send a simple open command to an electric garage door opener.
Here is why thousands of homeowners are removing cloud hubs and switching to local network controllers like Ratgdo, Tailwind iQ3, and Meross.
What Happened to Chamberlain MyQ? (The Cloud Lock-In)
For years, Chamberlain marketed its MyQ system as an open smart garage ecosystem. Tech enthusiasts integrated MyQ openers into open-source platforms like Home Assistant, Apple Homebridge, and custom automotive dashboards.
In late 2023, Chamberlain leadership made an aggressive corporate pivot. They blocked third-party API access across the board, locking out smart home platforms.
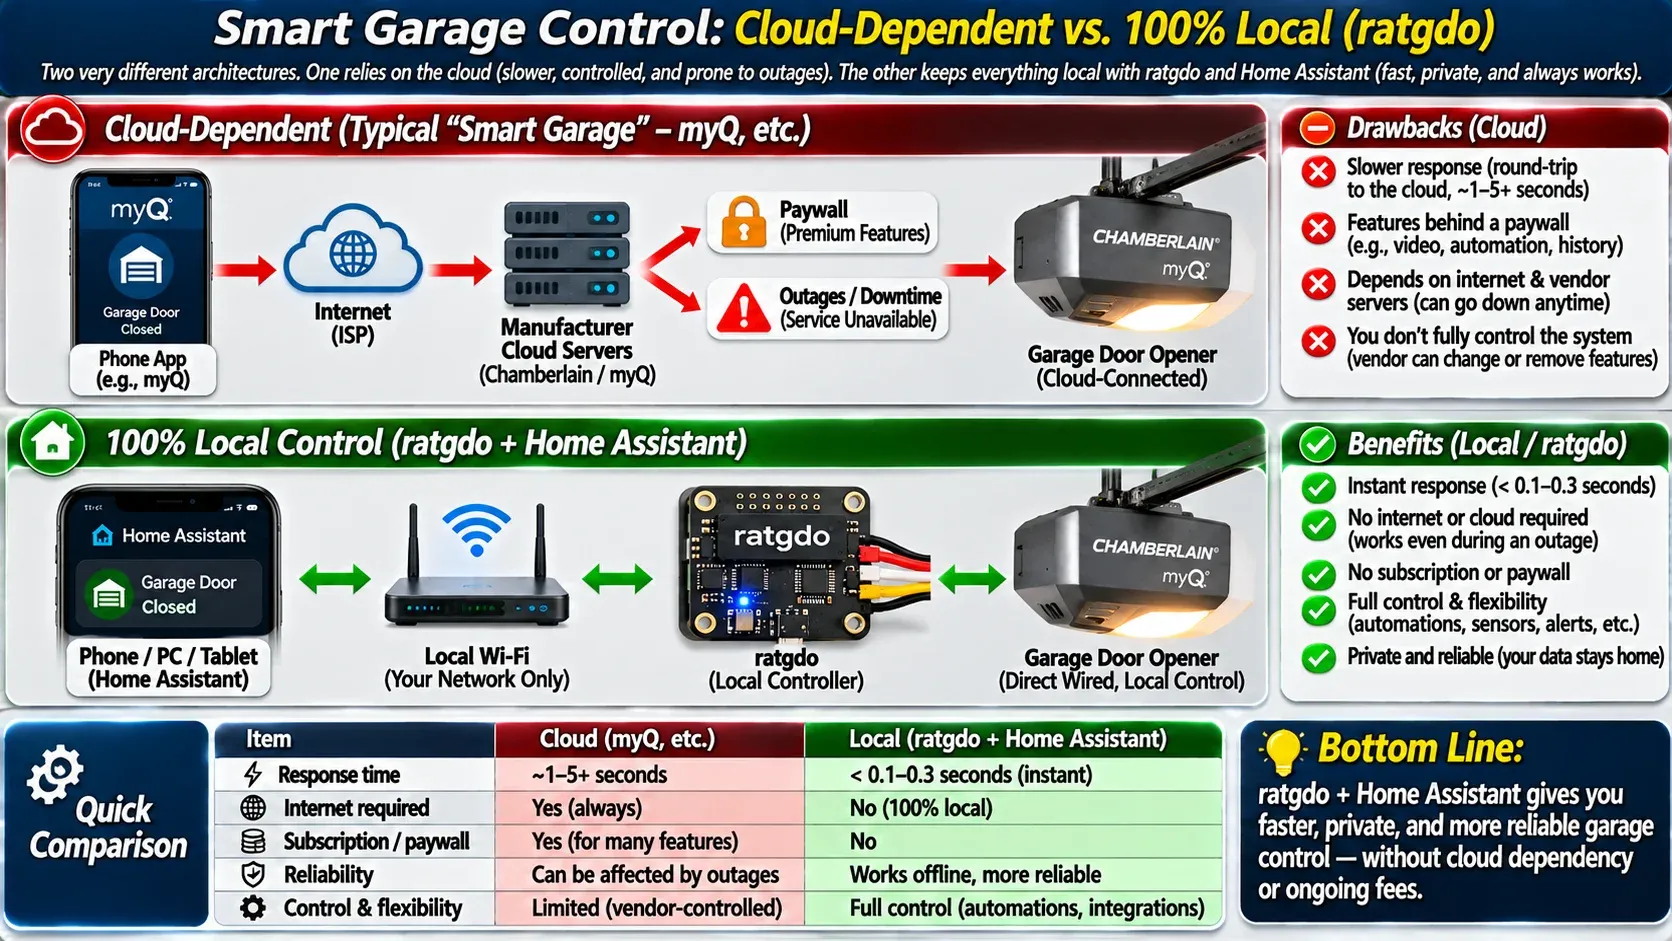
Network architecture infographic comparing cloud-dependent smart garage control vs 100% local ratgdo control, top diagram showing sluggish cloud route through manufacturer servers subject to paywalls and outages, bottom diagram showing direct local Wi-Fi control via Home Assistant with zero external internet required, clean modern UI graphics.
The reasons behind this lockout became clear immediately: corporate monetization and ad revenue. The native MyQ app now serves third-party advertisements, tracks usage data, and pushes partner subscriptions.
More importantly, cloud dependence represents a major reliability failure. When severe winter storms knock out neighborhood internet cables, a cloud-reliant opener becomes completely unresponsive. A smart home device should never require an external internet handshake to operate a relay inside your own building.
The Technical Hurdle: Security+ 2.0 and the Yellow Button
When homeowners attempt to replace MyQ with an inexpensive smart relay, they run straight into Chamberlain’s proprietary signaling protocol: Security+ 2.0.
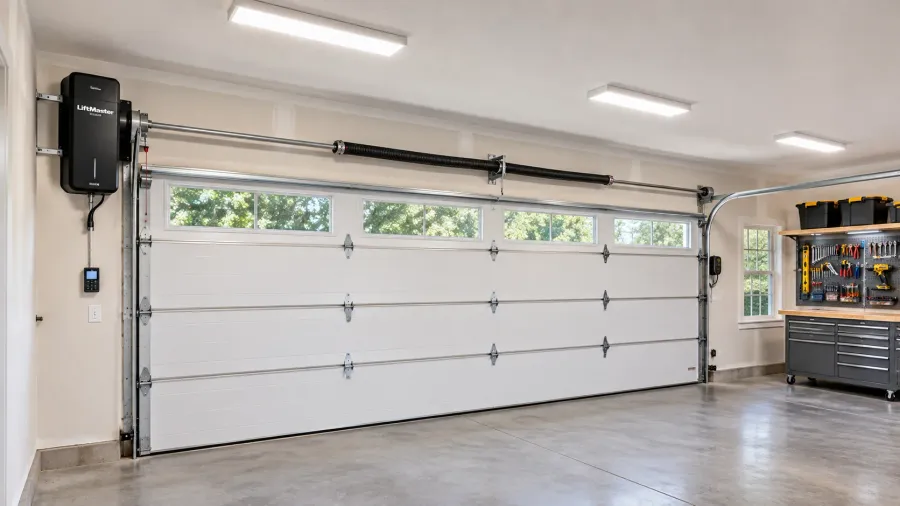
Look closely at the motor head hanging from your garage ceiling. If the machine features a round yellow learn button (manufactured by LiftMaster, Chamberlain, or Craftsman since 2011), standard smart relays will not trigger the door.
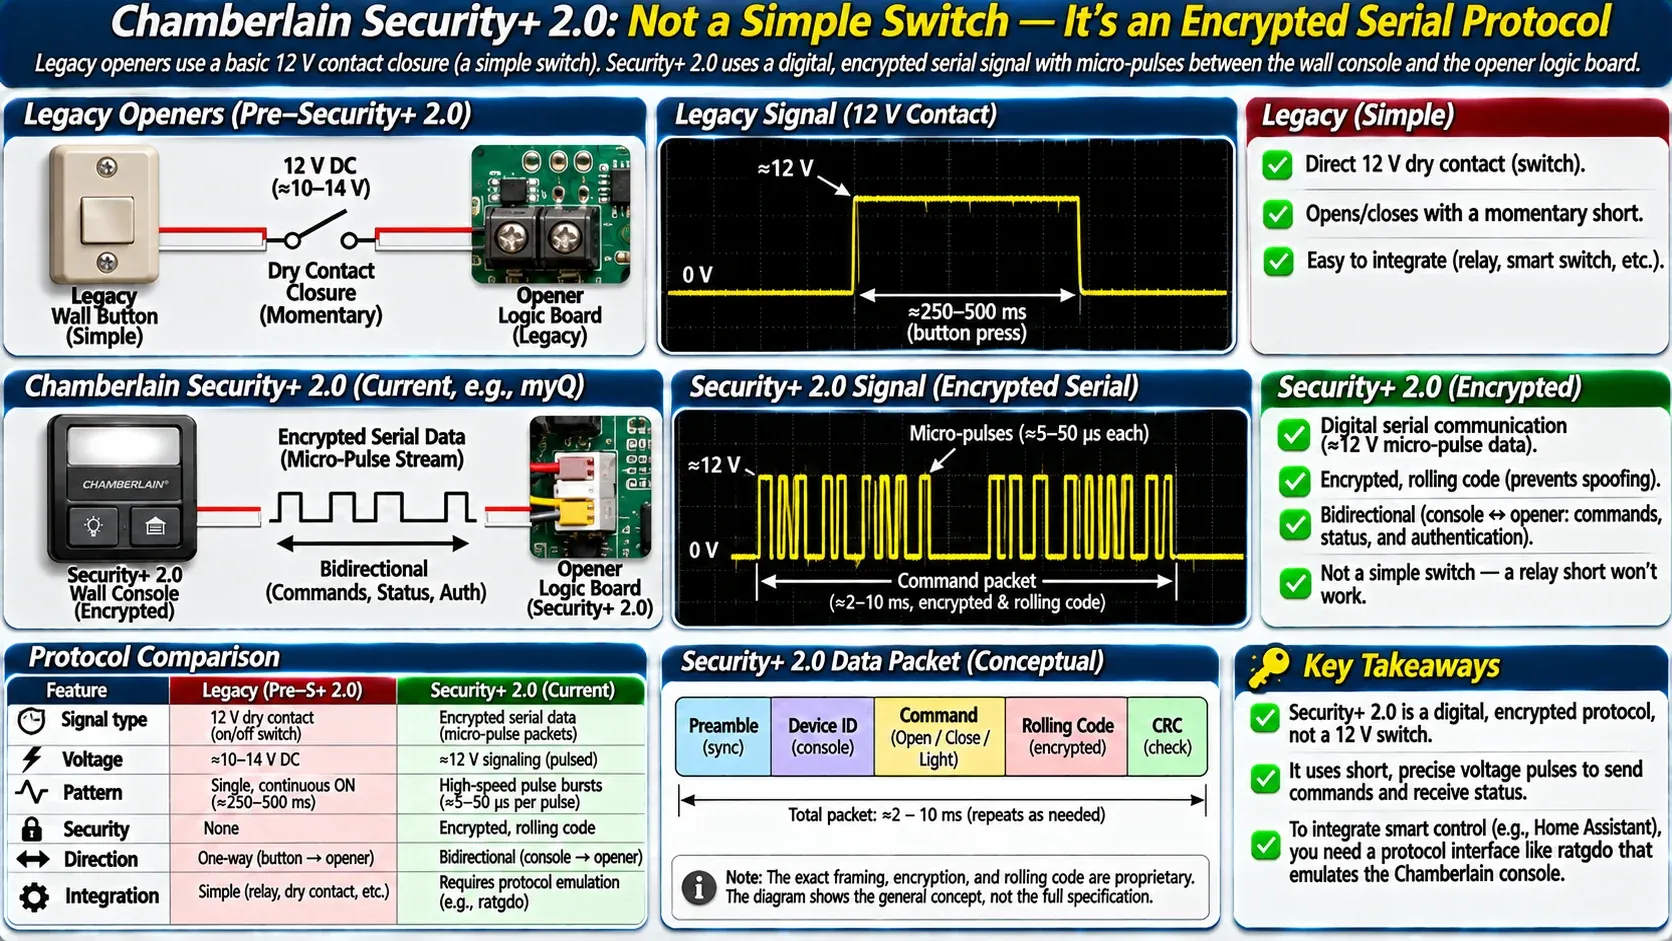
Technical electrical signaling diagram illustrating Chamberlain Security+ 2.
Older garage door openers operated via simple dry-contact closures. When you pressed the wall button, the switch momentarily shorted two low-voltage bell wires together, signaling the logic board to cycle the motor.
On modern Security+ 2.0 units, the wall console houses a dedicated microchip. When you press the button, it transmits an encrypted high-frequency serial data string across the wires. If you twist the two bare wires together, the logic board ignores the short circuit.
To control a modern LiftMaster or Chamberlain unit locally, your controller must decode that serial bus language or interface through an authorized hardware bridge.
3 Proven Local Alternatives Tested
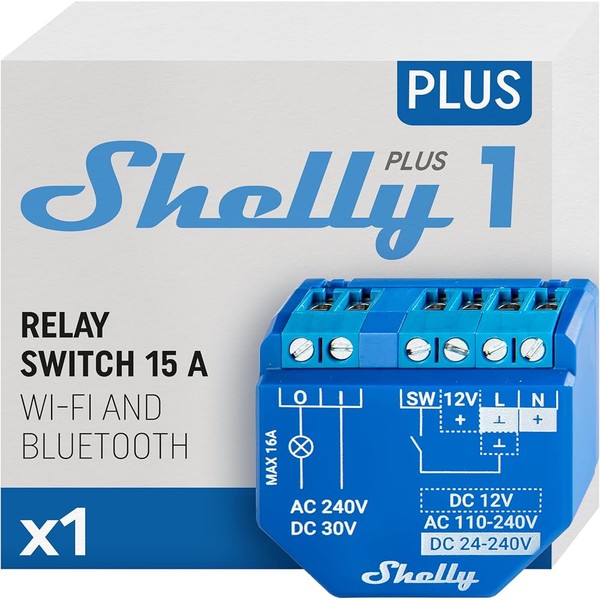
Shelly Plus 1 UL-Certified Wi-Fi Dry Contact Smart Relay
Best For: Local dry-contact garage door automation without external cloud servers
Est. Price: $19.99
"For openers with standard dry-contact terminals, this $20 UL-certified smart relay provides 100% local, instant control with zero vendor cloud subscriptions."
- +Isolated dry contacts trigger standard garage door pushbutton terminals directly
- +Native local MQTT, REST API, and Home Assistant support without any cloud account
- +UL-certified micro form factor fits inside existing opener motor housings cleanly
- -Requires soldering an extra wireless remote button if your opener uses Security+ 2.0 (yellow button)
- -Demands basic 12V-24V DC or 110V AC low-voltage wiring knowledge
For complete local control without external cloud reliance, inspect the open-source blueprints on the open-source ratgdo firmware repository and hardware documentation. It bridges the proprietary serial bus directly to ESPHome or Home Assistant without needing Chamberlain servers.
You do not need to replace your entire overhead opener to regain local, ad-free control. Three distinct solutions handle everything from plug-and-play Apple HomeKit operation to hands-free vehicle sensing and Home Assistant automation.
Smart Garage Controller Comparison
Chamberlain MyQ Native Hub
Meross MSG100HK (HomeKit)
Tailwind iQ3 Smart Controller
Ratgdo (ESPHome / MQTT)
1. Tailwind iQ3: The Hands-Free Vehicle Automation Champion
If you want your garage door to open automatically as your vehicle rolls down the driveway without fumbling with phones or visor remotes, Tailwind iQ3 is unmatched.
Unlike unreliable phone-only geofencing apps that open the door prematurely or fail when your phone enters power-save mode, Tailwind pairs your phone’s GPS with a dedicated vehicle sensor (a small Bluetooth puck tucked inside your glove compartment). The door only triggers when both the phone location and the vehicle Bluetooth connection confirm your truck is actively arriving home. It opens smoothly as you pull into the driveway and shuts automatically as you leave.
2. Meross MSG100HK: The Budget HomeKit Favorite
For homeowners embedded in the Apple HomeKit, Amazon Alexa, or Google Assistant ecosystems who simply want a clean, fast smartphone interface, the Meross MSG100HK delivers outstanding value.
It communicates directly with your home network. When you trigger the door from your Apple Watch or CarPlay screen, the command travels across your local Wi-Fi router in under 300 milliseconds. If you own a yellow-button LiftMaster motor, Meross will ship you an auxiliary button adapter module free of charge upon request.
3. Ratgdo: The Open-Source Powerhouse
Ratgdo (an acronym for Rage Against the Garage Door Opener) is an open-source hardware board developed by software engineer Paul Wieland.
Instead of simulating button presses, Ratgdo wires directly into the three terminal screws on the back of your LiftMaster motor: Power, Ground, and Serial Bus. It speaks Chamberlain’s native Security+ 2.0 encrypted language. It reads exact door opening percentages (e.g., Door is 45% Open), commands the overhead work light independently, and detects whether the safety photoelectric beam is clear or blocked, all without mounting external sensors.
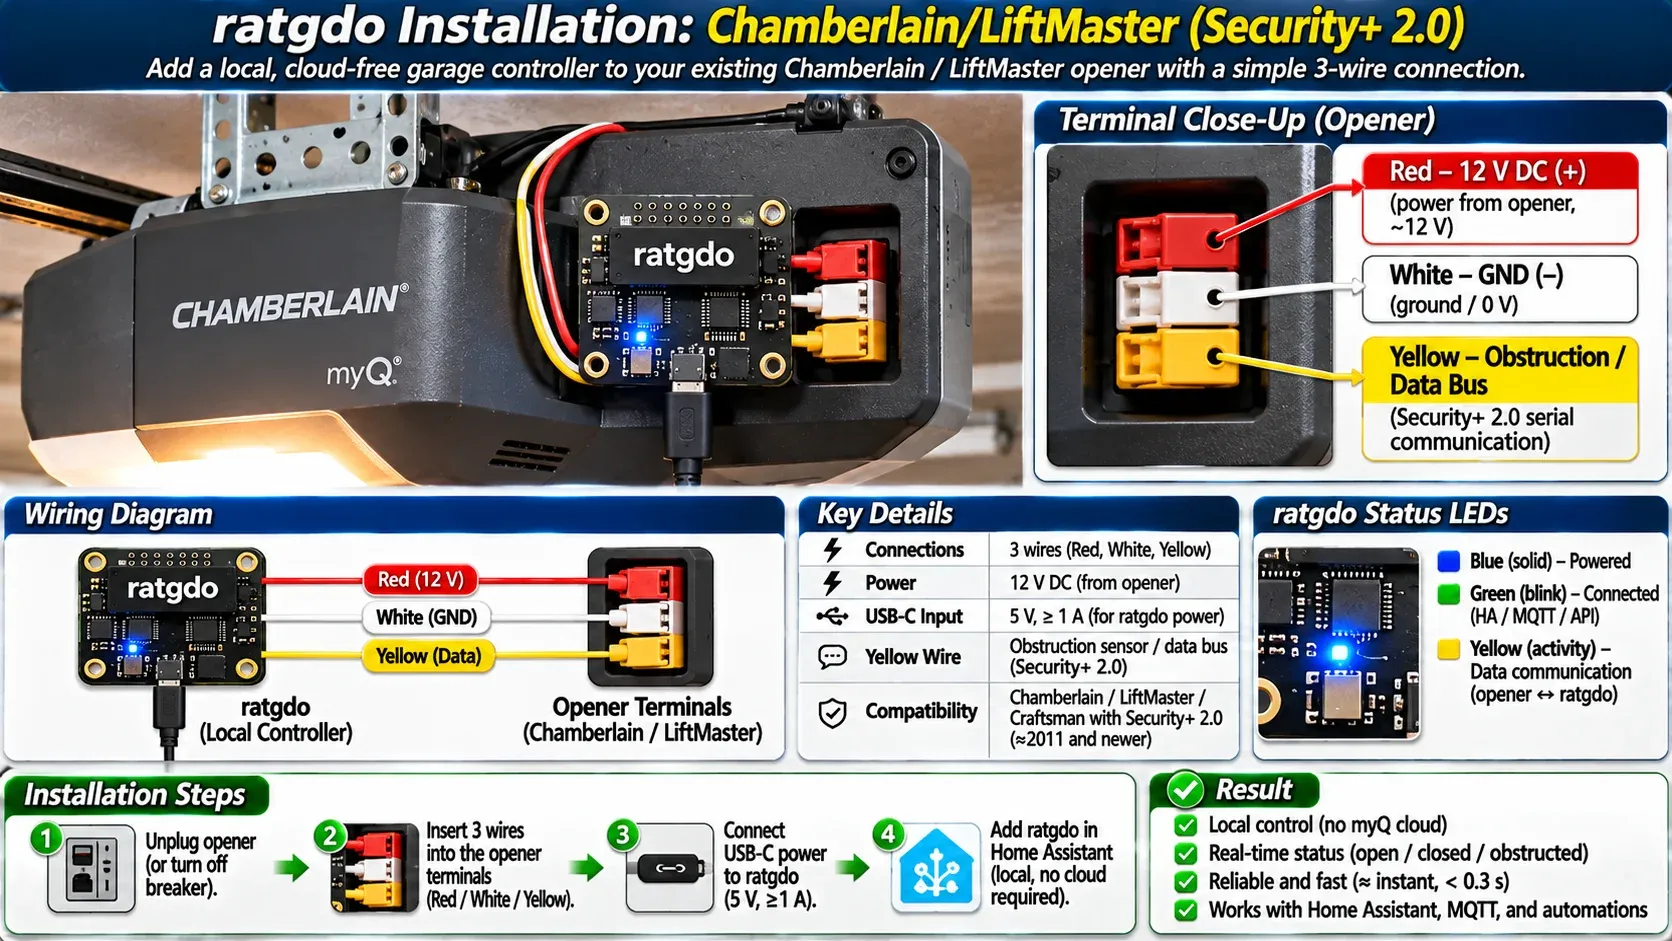
Clear color-coded wiring schematic for installing a ratgdo local controller onto an overhead Chamberlain/LiftMaster garage door opener, showing 3-wire hookup: Red (12V), White (GND), and Yellow (Obstruction/Data bus), with USB-C power input, labeled terminal clips, clean technical CAD illustration.
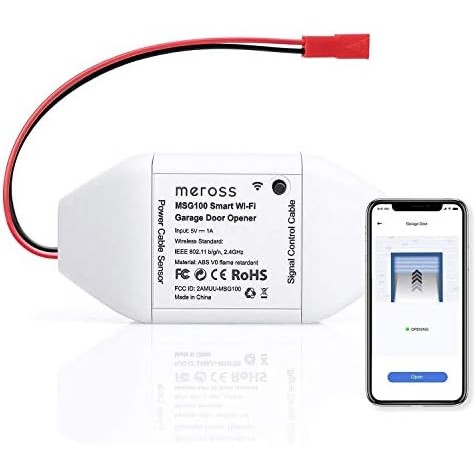
Meross Smart Garage Door Opener (HomeKit & Local Wi-Fi)
Best For: Homeowners wanting simple, reliable, ad-free smartphone and Apple CarPlay garage control.
- +Native Apple HomeKit support allows instantaneous Siri and CarPlay dash control
- +Direct local LAN communication ensures door commands execute without cloud delays
- +Wired magnetic reed sensor provides 100% reliable door open/closed confirmation
- +Zero monthly subscription fees and completely ad-free smartphone interface
- -Requires requesting an auxiliary button adapter for yellow-button Security+ 2.0 motors
- -Requires running a single sensor wire down the garage door track
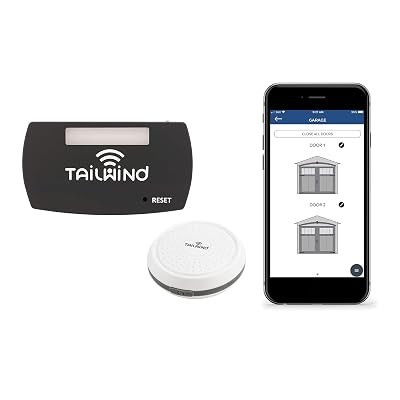
Tailwind iQ3 Smart Garage Controller System
Best For: Drivers who want completely automated, hands-free door opening without touching a screen.
- +Patented dual-factor vehicle sensor delivers true hands-free auto-open upon arrival
- +Full local network control integrates cleanly with Home Assistant, Alexa, and Google
- +Commercial-grade wired aluminum door sensor withstands heavy vibration and wind
- +Supports independent monitoring and control of up to three garage overhead doors
- -Higher initial cost compared to entry-level smart relays
- -Requires one plug-in vehicle sensor per automated car
Wired Reed Switches vs. Wireless Tilt Sensors
One major flaw in factory smart opener kits is the battery-powered wireless tilt sensor. Manufacturers include these adhesive plastic pods because they eliminate the need to run wires during installation.
In an unheated garage, wireless tilt sensors fail routinely:
- Sub-Zero Battery Failure: Coin-cell lithium batteries (such as CR2032 or CR2450) lose electrochemical voltage rapidly when temperatures drop below freezing. A dead battery leaves your smart system blind, reporting that the door is closed when it is wide open.
- False Alarms from Wind Gusts: Strong winter winds rattle large sixteen-foot steel door panels. That mechanical vibration can cause a tilt sensor to tip past its internal mercury or ball-bearing trigger, alerting your phone that a break-in is underway at 3:00 AM.
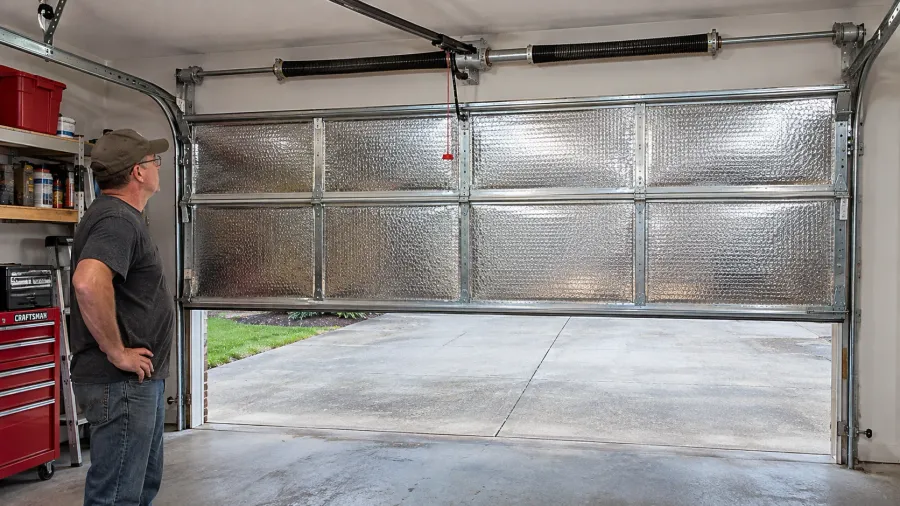
Professional installers insist on a wired magnetic reed switch. A heavy-duty, sealed magnetic switch mounts directly to the overhead track, while a rare-earth magnet fastens to the door frame. When the door closes, physical proximity closes the internal electrical contacts. There are no batteries to replace, and zero false readings occur during heavy windstorms.
4 Steps to Wire a Local Smart Controller
Installing a local controller like Meross or Tailwind requires roughly thirty minutes and basic hand tools:
Local Smart Opener Controller Wiring
Step-by-step physical installation for cloud-free, sub-second garage automation.
Disconnect Opener Power
1 minUnplug the overhead opener power cord from ceiling AC outlet. Verify motor LED lights extinguish completely before touching terminals.
Mount Wired Magnetic Reed Switch
10 minsFasten the heavy-duty magnetic contact switch to vertical track. Anchor matching magnet bracket to top door section within 1/2-inch air gap.
Connect Terminal Conductors
8 minsRun low-voltage bell wire from controller to opener screw terminals (or connect Security+ 2.0 serial adapter to red/white/black terminals).
Restore Power & Local Pairing
6 minsPlug in overhead unit, connect module to your local 2.4 GHz Wi-Fi / Apple HomeKit / Home Assistant network, and verify instant relay trigger.
Zero subscription fees, instant Apple CarPlay/Android Auto opening on arrival, and 100% offline local reliability.
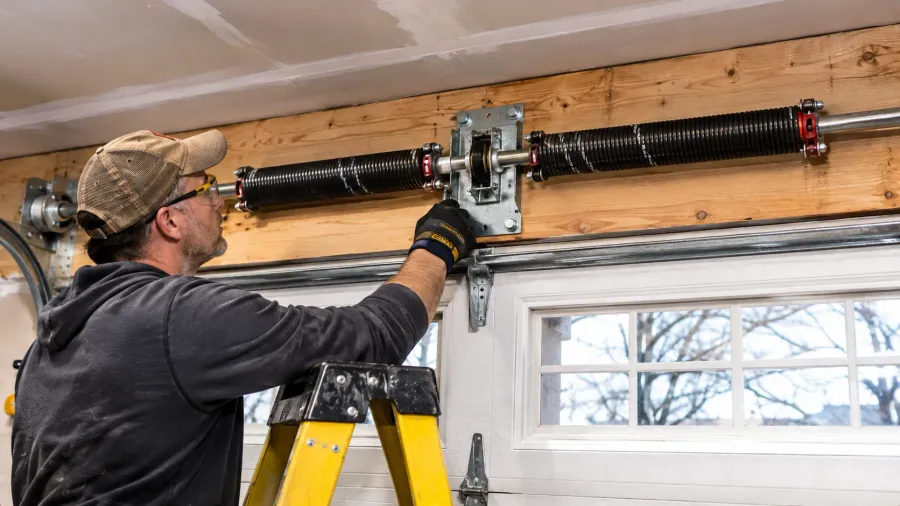
If your opener uses an older mechanical chain or screw drive and produces deafening vibration, consider upgrading the physical drive before wiring smart electronics. Read our detailed analysis on chain versus belt versus wall-mount garage openers. To protect your physical garage door emergency release latch from exterior coat hanger attacks, check our guide on stopping the 6-second garage break-in. If your opener struggles against heavy, out-of-balance door panels, consider converting your lift hardware by following our guide on single vs. dual torsion spring conversion.
Take back control of your garage door hardware. Strip out the ad-laden cloud hubs, wire in a rock-solid local controller, and enjoy instantaneous, ad-free access every time you pull into your driveway.
Hank Miller
Hank is a master craftsman and DIY mechanic based in Ohio. He tests workshop equipment, garage floor coatings, and power tools under brutal, real-world workshop conditions, with zero paid brand sponsorships.